

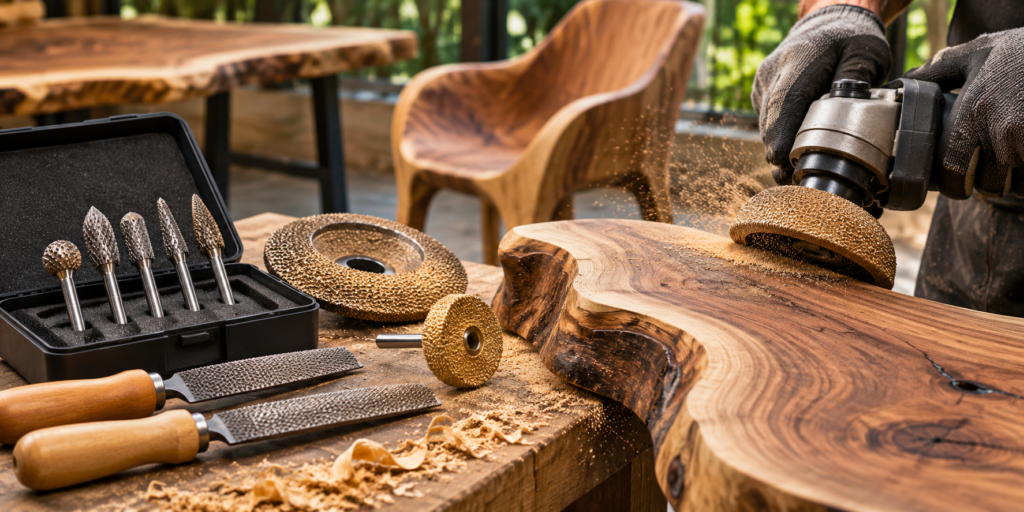
A live edge slab keeps the wavy outline that the tree grew, and that outline is the reason people want it. Shaping it well means respecting the natural line while making the surface comfortable and safe to touch. This guide explains how live edge shaping works, which tools help at each stage, and how to avoid common mistakes.
What Live Edge Means
A live edge piece retains one or both of the slab’s natural outer edges instead of being cut to a straight line. The edge may still carry bark, or it may be the bare wood just under it. The irregular shape gives tables, benches, and shelves an organic character that straight lumber cannot match.
The edge also needs attention. Rough spots, loose bark, and sharp splinters have to be dealt with, and the transitions between flat surfaces and curved edges need blending. That is the heart of live edge shaping.
Plan Before You Cut
Planning is the quietest but most valuable part of live edge shaping.
- Inspect the slab for cracks, voids, and checks
- Decide which edges to keep, soften, or trim
- Mark areas for bark removal or retention
- Plan how the slab will be flattened and supported
- Decide how smooth or textured the finished edge should be
Take photographs from several angles and sketch the design. A little planning helps preserve the best parts of the natural line.
Deal With the Bark First
Bark can hold moisture, harbor insects, and eventually peel away. Many makers remove it, either entirely or in places, to expose the cambium layer below. A drawknife, chisel, or wire brush can do this, followed by sanding.
Flatten and Stabilize
Large slabs are often flattened with a router sled or a planer before the edge work begins. They also need to be dry enough for the project and stabilized if there are cracks or voids. Epoxy and butterfly keys are common solutions.
Complete milling and joinery before you shape the edge. This keeps the dimensions accurate and the shaping focused on appearance and comfort.
Power Shaping Tools
Power carving tools complement saws, routers, and hand tools. They shape sculpted seats, ease edges, blend transitions, and add texture.
Dish and Shaping Wheels
A 4.5 inch shaping wheel fits compatible angle grinders and shapes broad, concave surfaces quickly. A rounded dish profile suits hollowed seats and sweeping curves. Check the wheel’s bore and the grinder’s speed rating before mounting it.
Contour Wheels
A smaller 2 inch contour wheel carves hollows and rounded profiles. Many include a 1/4 inch shaft adapter so they can run in compatible die grinders or flex shafts.
Rotary Burrs
Burrs with 1/8 inch or 1/4 inch shafts handle smaller details, grooves, and texture. Mixed shapes in several grades let you rough out and then refine.
Hand Rasps
Half-round rasps shape curved and flat faces by hand, and warding rasps reach narrow spaces. Hand tools offer control for the final fit and blend.
Matching tools to the task is the key to efficient live edge shaping.
Technique Tips
Technique matters as much as tools in live edge shaping.
- Test your approach on an offcut of the same species
- Start with a coarser grade for fast removal
- Switch to finer grades for refinement
- Use light, overlapping passes instead of heavy cuts
- Keep the tool moving to avoid burning
- Work with the grain where possible
- Check the shape often by eye and by hand
Hardwoods such as maple, walnut, oak, cherry, and mahogany can be shaped, as can softwoods. Dense woods burn more easily, so go gently and let the tool cut.
Safety Basics
Safety deserves attention at every step of live edge shaping.
- Wear eye protection, hearing protection, and a respirator
- Clamp the slab securely so it cannot shift
- Use the grinder’s guard when the tool design allows it
- Check wheel speed ratings against your tool
- Keep both hands clear of the cutting surface
- Let the tool stop before setting it down
Fine dust from hardwoods can irritate lungs and skin. Use dust collection where possible.
Conclusion
Success depends on planning, flattening and stabilizing first, choosing tools that match the task, and finishing carefully. Makers who want sculptural curves on tables, benches, and chairs often add sculpture tools to a kit of saws, routers, and hand tools. Take your time, test on scrap, and let the wood guide the shape.